A lot has happened in the first half of 2018 with Episerver’s TinyMCE editor. In March 2018, Episerver released Update 206, which includes a new version of the EPiServer.CMS.TinyMce NuGet package – version 2.0. Configuration of the editor was already possible via code, but in the past, there was also an option to configure it via the administrative panel in the experience editor. That option is no longer available in version 2.
Now, code is your only option. On top of that, this new version uses TinyMCE v4 instead of v3. There’s been trouble updating Episerver while still trying to stay with the v3 editor. So even if you were already configuring the editor via code, the way it is done has changed.
Episerver has a lot of great documentation on configuring this new version of TinyMCE. As of publishing of this article, the new version of TinyMCE is on version 2.4.0 and the documentation has advanced to be consistent with other Episerver documentation.
Let’s look at the physical differences in TinyMCE editor versions:

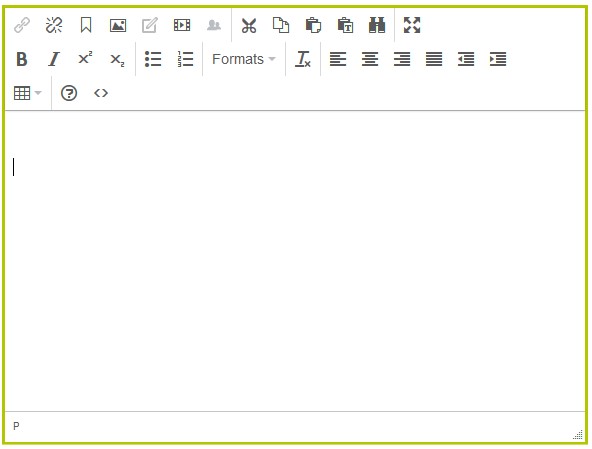
Apart from my custom toolbar buttons applied, you’ll notice the editor’s buttons are different. Don’t freak out, though! It’s a new version of TinyMCE, and it’s supposed to look a little different. Personally, I think it looks better and is much easier to configure via code. There’s typically a certain amount of configuration required in the TinyMCE editor (old or new) beyond just the default settings, so here are a few pointers:
- Use an initialization module (shown below) to configure the editor. There is a default configuration that applies to all instances of the editor. You can customize this by using the Default() method.
The Toolbar() method configures the buttons that appear on the toolbar. The method takes an array of strings using the “params” construct of C#. Each string in the array represents a separate row in the toolbar, each button name is separated by a space, and the vertical pipe character creates a divider between buttons. TinyMCE has great documentation on the toolbar function and demonstrates some similarities between how TinyMCE is configured and how the Episerver API lets you express that configuration.
<p> CODE: https://gist.github.com/thec2group-blog/2457c70d543577a8033f566414011e30.js</p>
So, where do these magic button names come from? How do I know that to use the “pastetext” button, I must first add the “paste” plugin? That all comes from the TinyMCE toolbar controls documentation.
Configurations can be applied to individual properties on page or block types using something like the following:
<p> CODE: https://gist.github.com/thec2group-blog/fbb6cd12ba01a44dafc5ca13121a7c60.js</p>
The HTML code editor button is called “code” and requires that you first add the “code” plugin. It’s in the previous example. If you didn’t look closely, you might’ve missed it.
The custom styles dropdown is the “styleselect” button, and it requires a change in how you define custom styles. First, refer to the TinyMCE documentation on style formats. There are a lot of examples showing the object structure for the “style_formats” array property. This object structure maps directly to the Episerver StyleFormats() method. Anonymous objects in C# are useful so that you can build up a complex object structure without needing to use heavy string manipulation, but the method can also accept a JSON-formatted string:
<p> CODE: https://gist.github.com/thec2group-blog/46ab1bf0093705986e50b2caec9b7ac4.js</p>
One other thing to note in this code is that I’ve used the ContentCSS() method to include a reference to my CSS file. TinyMCE renders the editor as an iframe, so you need to tell it about your CSS file so that it can apply your styles correctly.
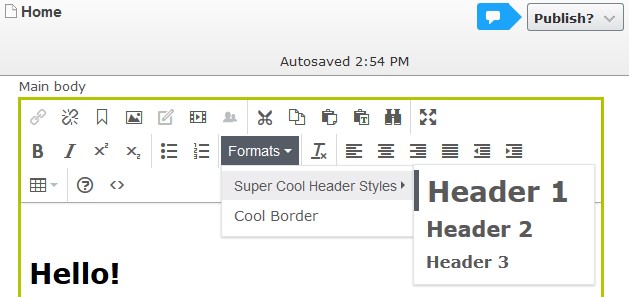
When this editor renders, you’ll see the styles in the “Formats” dropdown toolbar button:
My CSS file has the following style defined:
<p> CODE: https://gist.github.com/thec2group-blog/6c3e0c3a255686dc86593fa6ee5b0bf7.js</p>
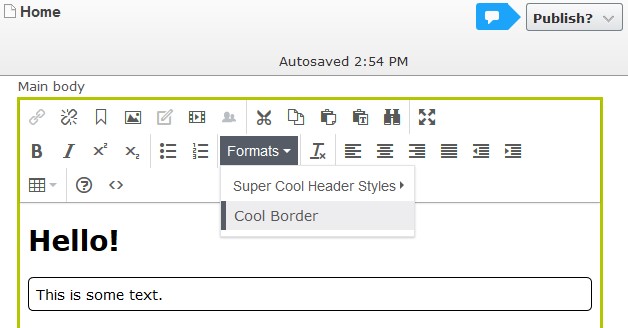
When I select the “Cool Border” style, notice that the style shows on the text in the editor:
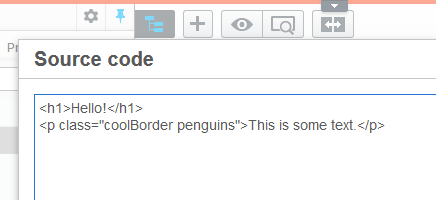
A look at the source code editor reveals that TinyMCE has added both classes I defined in the code above. True – the “penguins” class does nothing from a style perspective. I added it for two reasons: first, I really like penguins, and second, I wanted to demonstrate that you can add multiple classes.
There’s a lot more that you can dig into on both the TinyMCE documentation and with Episerver’s API. Dig in and have fun!