Imagine this - you’re a PHP whiz, but you’re not much for CSS. You volunteer to help redo your local humane society’s website. When you get the design, it’s in a PSD. You’ve opened Photoshop once or twice, but you’re not exactly familiar.
Here are a few essentials you need to know before you start “cutting up” a design. Disclaimer: I am using Photoshop Creative Cloud; if you’re using an older version, some of these tips may not apply.
General Settings
#1 - Workspace
Photoshop provides more windows (or panels) than you need. I recommend setting up a new workspace instead of using one of the presets, so that you can customize and save your sidebar settings.
To set up a new workspace, click on the dropdown in the upper-right corner of Photoshop and choose “New Workspace…” This will open a popup, where you can name your workspace.

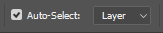
#2 - Auto-Select Layers
This setting is essential to navigating around a Photoshop document. With the Move Tool (looks like a crosshair) turned on, you will see a checkbox called “Auto-Select: Layer.” If you check this, when you click on items with the Move Tool, they will then be highlighted in the “Layers” panel.
As a web developer, you generally want your dimensions to be in pixels. To ensure that you are using pixels, turn on rulers by going to the “View” menu and selecting “Rulers.” Then, right click on the top ruler, and select “Pixels” from the context menu.
When you need to measure an item (such as padding or an image’s width), you can use the Rectangular Marquee Tool (looks like a square with a dashed border). The measurements will be available in the “Info” panel.
Working with the PSD
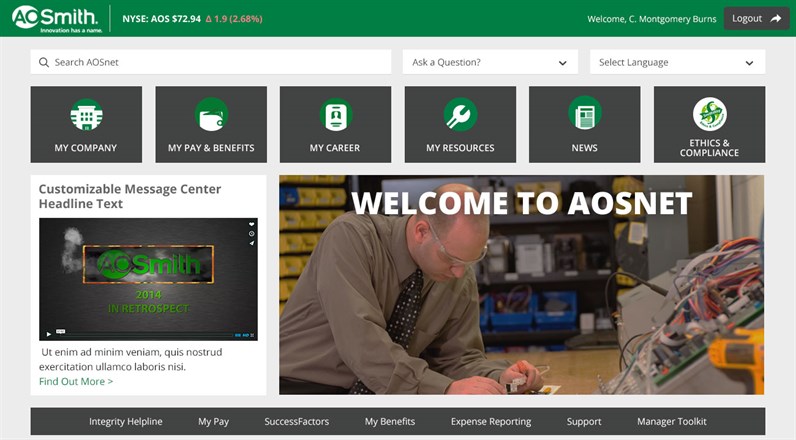
For the next set of tips, let’s look at a sample PSD for a client that I recently worked with (see full case study for AOSmith here).
#4 – Font Styles
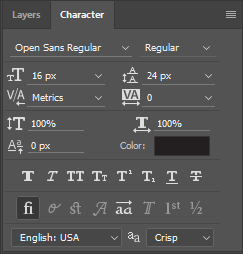
To determine the font styles for the paragraph text beneath the video, you would use the Horizontal Type Tool (the large “T” in the toolbar). When you click inside the text layer, the styles will be shown in the “Character” panel.
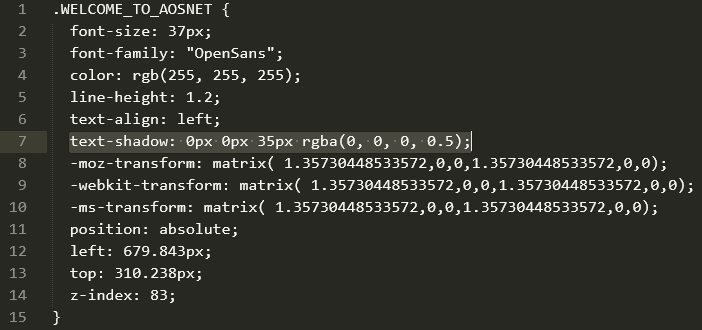
The CSS conversion for this particular area would be:
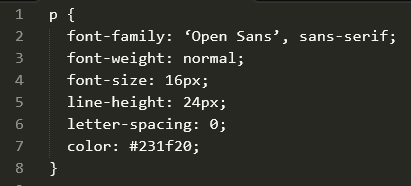
The color can be determined by clicking on the bar next to “Color”.
Pro Tip - Pressing the “esc” key will remove focus from the text layer and allow you to select a different layer.
#5 – Exporting Images
To export an image from Photoshop, you can right click on the image layer in your “Layers” panel and select “Export As…” from the context menu. This will open a popup window with options for saving your image, including format and sizing. Click “Export All…” to select a location to save your image.
Sometimes you just need to crop an image out of a document. To do this, you can use the Rectangular Marquee Tool to select the area you wish to keep, then select “Crop” from the “Image” menu.
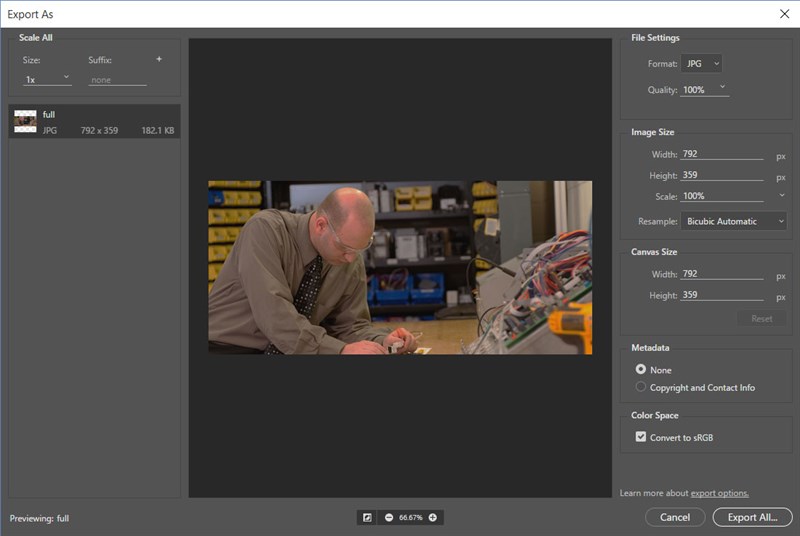
Pro Tip - For photographs, you will generally want to save in JPG format. For anything that needs a transparent background, you will need to save the image in PNG format.
#6 - Sampling Colors
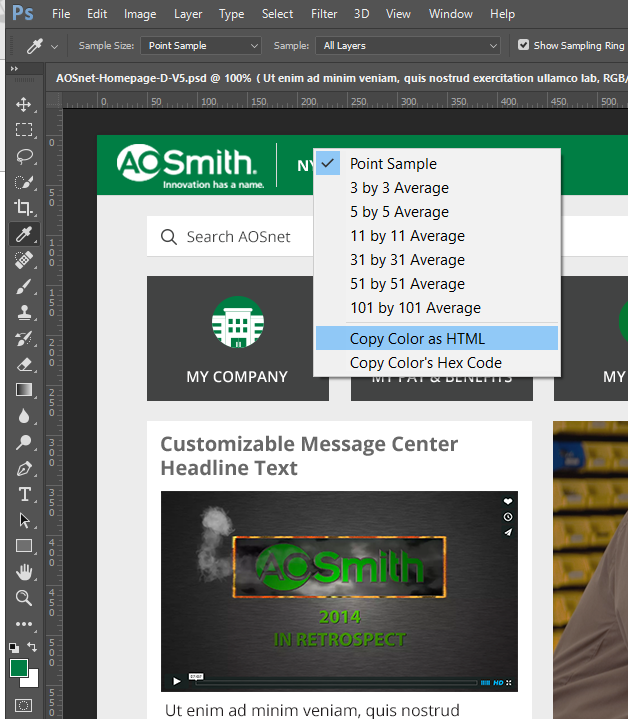
To get the background color for the green header bar, you can use the Eyedropper Tool. Right click on the header bar, then select “Copy Color as HTML” from the context menu. This will save the hex value to your clipboard.
#7 - Copy CSS
Though it feels a bit like cheating, I have used Photoshop’s “Copy CSS” feature from time to time. I find it useful for gradients and box shadows, both of which have rather cumbersome CSS syntax.
In the design above, the large headline (“WELCOME TO AOSNET”) has a text-shadow on it. To quickly get the CSS for this text-shadow, you can right-click on the text layer in your “Layers” panel. Then select “Copy CSS” from the context menu. This will copy the styles for that layer to your clipboard. As you can see in this code snippet, there will be extra styles that you don’t need (or styles you need will not be included), but it is quite handy for pulling out the text-shadow.
Parting Thoughts
This list isn’t exhaustive; there are many other useful tools in Photoshop for developers. I hope that this can be a jumping-off point to get you started. I encourage you to poke around in Photoshop and see what else you can find. I even learned something new while writing this post! As always, if you can’t figure out something in Photoshop, Google it!